Guest Post by Stephanie
“There is so much magic in a tiny seed. Dormant, still, silent, the seed speaks of unimaginable potential. The seed is the first—and last—step in the cycle of most plant life; they complete the circle of life. Seeds can lay dormant for years, decades, and in some cases, centuries. When parched earth finally gets rain, when the fires die down and only ash remains—the seeds carry new life forth.” – The Druid
I am a big proponent of growing plants from seed. Whether you are a serious gardener or a gardening hobbyist, there are far more benefits of growing your plants from seed than buying “ready to plant” trays. Let’s quickly discuss the benefits of starting your plants from seed.
- It is cost effective. A package of 100 organic chard seeds costs on average $1.50. A tray of 6 “ready to plant” young chard plants costs on average $5. The math speaks for itself.
- You have a larger variety to chose from. Presently at Home Depot, I have my choice of 4 different varieties of organic kale seeds and 6 different varieties of organic lettuce seeds. In the “ready to plant” trays I have my option of only one variety of kale and 2 varieties of lettuce. You can find an even larger selection of seeds from online garden retailers like Grow Organic.
- You have more control over the quality. I can’t count the number of problems I have had with the quality of “ready to plant” trays. From root rot to fungus and disease, plants purchased from a garden center are typically a gamble. By starting your plants from seed, you have full control over the health and quality of your plant.
- You can jump start your growing season. Garden centers and nurseries typically have plants in stock on a set schedule.
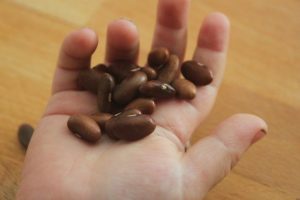
My son’s favorite thing to plant is green beans. I’m guessing his love of the book Jack and the Bean Stalk had some influence here.
By starting your plants from seed, you have control over when to start your plants in the garden.
- Growing seeds is a magical experience for both children and adults. My last reason to grow plants from seeds, however impractical, is one of my favorite reasons. Planting a seed, watching it sprout, and nurturing it into a mature plant is a magical experience for all. I find hope and joy in watching my seeds sprout. I also find a sense of satisfaction and gratitude in harvesting the fruits of my labor. Seeing the experience through my toddler’s eyes reminds me to be present in the moment and appreciate the amazing wonders of this world. If you are still on the fence about starting your own seeds, thinking it might be too much work or too many materials to get started, let me assure you that it couldn’t be easier! Starting seeds indoors only requires a few materials – most of which you probably already have laying around the house.
STARTING SEEDS Let’s start with the basics of what you should gather.
MATERIALS
- Seeds
- Seed starting pots*
- Seed starting mix
- Seed tray with clear dome (or any DIY drain tray with plastic wrap)
- Spray bottle filled with water
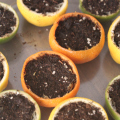
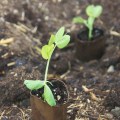
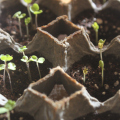
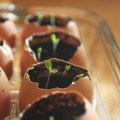
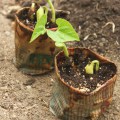
Now that you have all your materials, let’s get started.
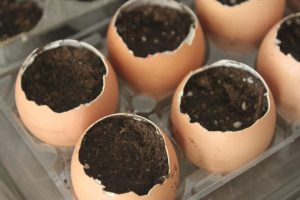
* You can buy seed starting pots from your local nursery or garden center. You can also re-purpose household items like egg cartons, egg shells, citrus peels, rolled up newspaper, and toilet paper rolls to make easy DIY seed starting pots.
Fill your seedling pots with pre-moistened seed starting mix. It’s easier to start with pre-moistened mix, as peat-based mixes are harder to wet down uniformly if they dry out in the pots. Although peat has very high water-holding capacity once it’s wet, it actually repels water when it’s dry.
Seed Starting Indoors
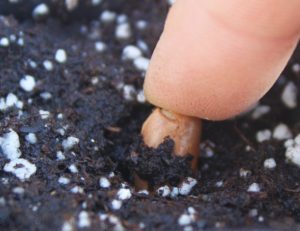
Place two to four seeds on the surface, and gently press the seeds down so they’re nestled into the mix. If your seeds are very small, like basil or mustard, you can leave them uncovered (as light will often speed up germination). If your seeds are larger, like beans or peas, or they require darkness to germinate, cover them with a layer of vermiculite or seed starting mix equal to their height, usually 1/4 inch to 1/2 inch.
How to Start Seeds Indoors
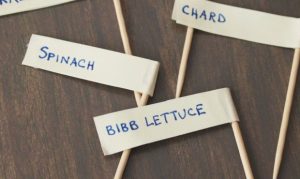
Label each pot. Trust me, you will never remember what you planted where, as all seedlings look the same at birth. You can write on the seed starting pots or create your own small labels.
Seedling Labels
Mist your seeds with water from a spray bottle. I have found my houseplant mister works well for this.
How to Start Seeds Indoors
STEP 5.
Assemble your pots in a seed tray (or reuse a disposable aluminum roasting 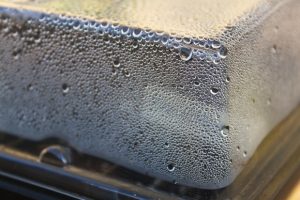 pan, a baking pan, even that plastic container that your cookies came in) and cover with a clear dome (or just plain old plastic wrap). This creates a greenhouse effect to keep your seeds moist and warm – the key to germination. Most annual vegetables germinate best in temperatures of 75-90°F. A few, such as radish, will germinate at lower temperatures. Seeds will sometimes sprout in less than ideal temperatures, but the germination period will be longer. If your dome has vents, keep them open to help with air circulation during the sprouting period.
How to Start Seeds
STEP 6.
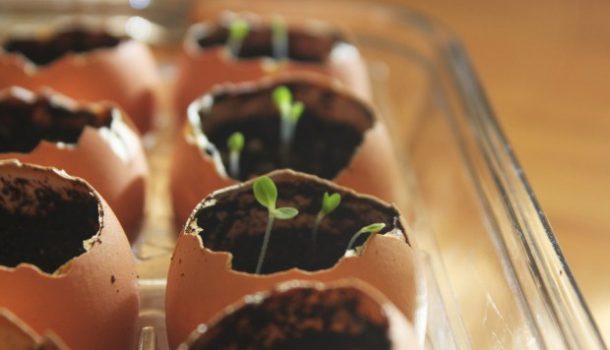
Time to add heat. Since sunlight is not essential at this point, your seed trays can be placed wherever it’s warmest in your house, such as an attic, bathroom, laundry room, or kitchen. Only spritz the seeds with more water if the mix feels dry to the touch. Too much water will make the seeds rot. If your makeshift greenhouse is looking a bit too wet inside, remove the cover or plastic wrap for a few hours during the warmest part of the day to allow air circulation. Mold is no good for seeds, either. Within a couple of days or a couple of weeks, the seedlings will start to emerge.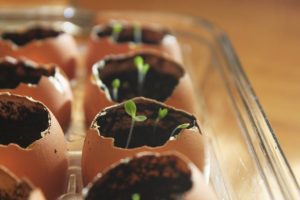
STEP 7.
Remove the clear dome or plastic wrap, and move the seedlings to a sunny spot in your house, such as a south-facing window. Continue to keep the mix moist, but not waterlogged.
Start Seed Indoors
STEP 8.
After your seedlings develop their “true set” of leaves, they are ready to be transplanted. The true leaves are actually the second set of leaves that appear; the first leaves that initially unfurl are not leaves at all, but cotyledons. These leaf-life structures are part of the embryo of the seed, and supply food to the seedling until its true leaves begin the process of photosynthesis.
If more than one seed sprouted, choose the strongest one and pinch or snip off the others. You can even keep all of them, but be careful separating the roots if the seedlings are close together. Transplant the seedling into a larger container filled with potting mix. Hold it by the cotyledons and try not to squish the tiny roots. Give the seedling plenty of sunlight each day (at least 12 hours is ideal) to avoid the “leggy” look.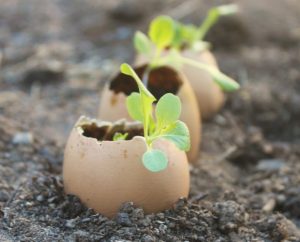
You can start to harden off the seedling by moving it outside under diffused light for a few hours and bringing it back inside each night. Over the next week, move it from diffused sun to full sun, and for longer periods of time, until it’s finally kept outside all night. After the hardening off period, you can transplant your seedling to its final destination, whether straight into your garden, or into a larger container.
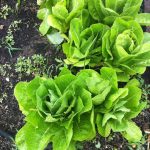 And then, in a couple of months, you can enjoy the fruits (and veggies) of your loving labor!
Romaine Lettuce
I hope this post inspires you to start some seeds! For more gardening inspiration, tips, and tutorials follow Never Enough Thyme on Pinterest and Facebook. And as always, happy gardening!🙂
I found Stephanies Idea per accident in Insta and found it so super, that I asked her if I can put it on my Blog. She allowed it, so slip in and have a look 😉 – all pic and ideas nad text Ⓒ by Stephanie from Link: www.neverthyme.com
Tags: Easy Indoor Seed starting guide


